Choose the chain size.
Choose a 400-series or 500-series chain and the model scale.
 JP
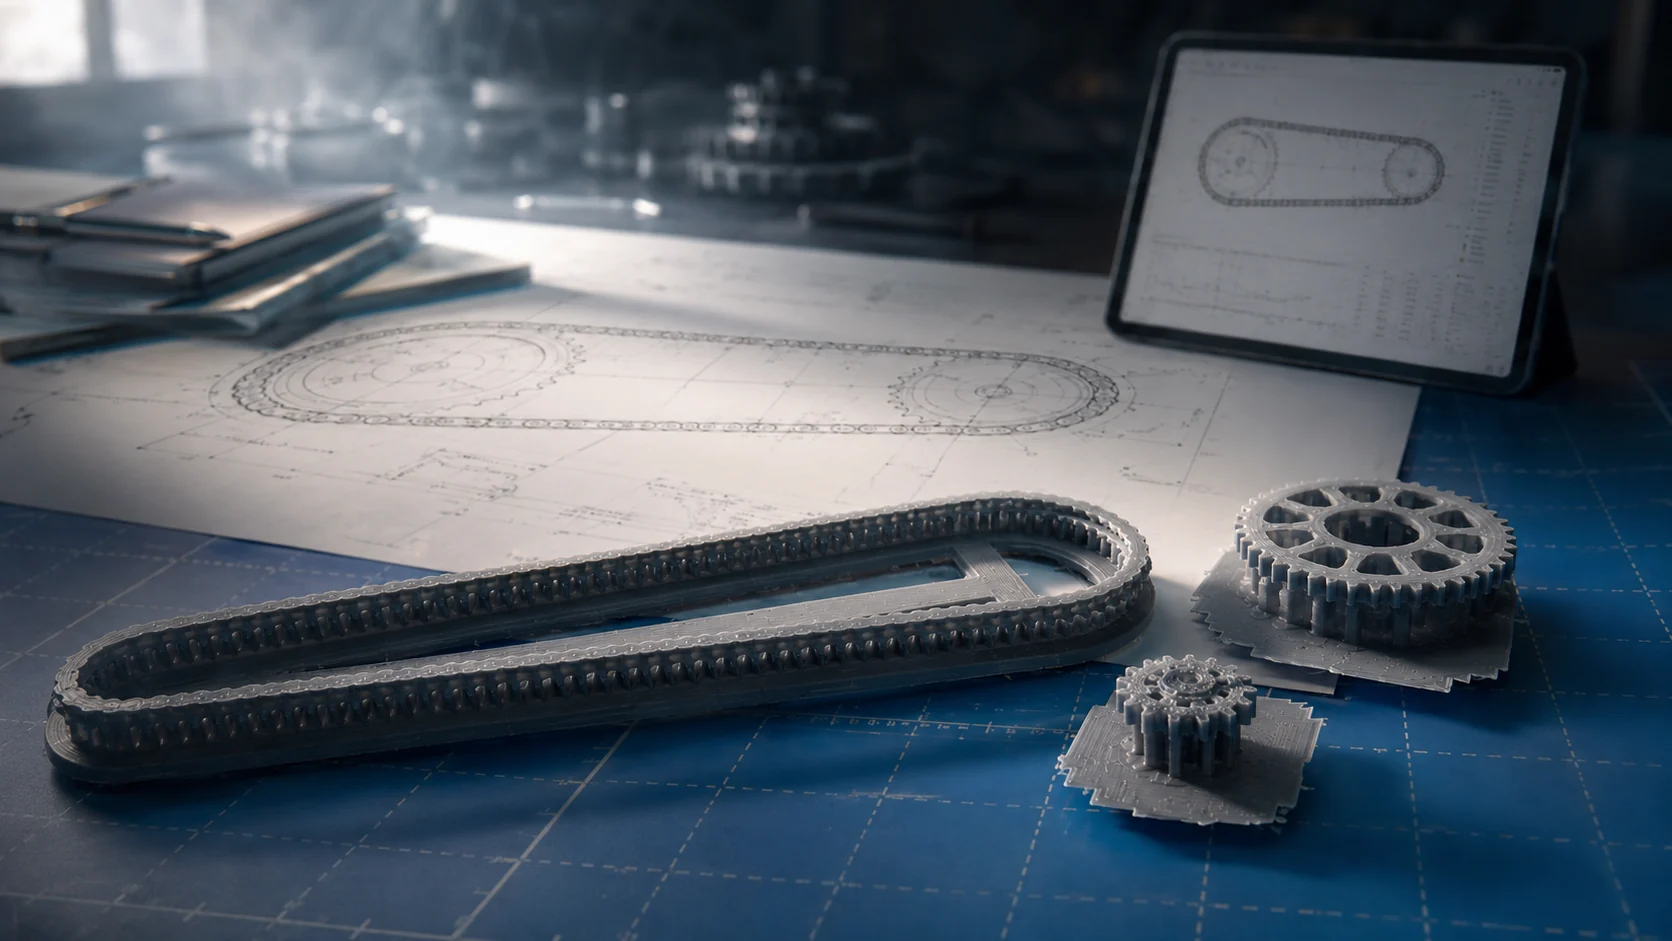
JPThe hard part was not modeling the chain itself, but making it travel correctly around both sprockets and close.So pitch, tooth counts, center distance, even link count, and the lower chain path were calculated together. The rebuild eventually became the basis for 299 Chain Builder.
01 / PROBLEM
Correct chain pitch,measured center distance.Even with both,a full loop is not guaranteed.
Changing pitch affects not only total chain length but also the sprocket pitch-circle diameter.
The chain is built from an even number of links. Adding or removing even one pair makes a noticeable difference at model scale.
Adding sag to the lower run increases the path length and changes the tangent points and arc conditions at the same time.
02 / CALCULATION
Choose a 400-series or 500-series chain and the model scale.
Enter the front and rear sprocket tooth counts, or their measured outer diameters on the model.
Enter the measured center-to-center distance between the two sprockets on the model.
Choose a straight lower run or add sag within a specified range.
Use link count, pitch-circle diameters, tangent-point coordinates, and arc radii to construct the geometry.
03 / GSX-RR
The final connection error was about 0.09 mm, small enough to ignore for this model. Sixty-one pairs — 122 links — completed the loop. Having a calculated reference also made it much easier to spot work errors when the physical dimensions did not match.
04 / LINKS
Why the tool was created, the input conditions it uses, and the GSX-RR rebuild results.
READ BUILD LOG [JP] ↗MODEL BUILDA GSX-RR build post covering paint on the custom chain and finishing the wheels and tires.
READ BUILD LOG [JP] ↗BEFOREPrepare the installation area by detailing the chain adjuster, cover, and paddock-stand hooks.
READ BUILD LOG [JP] ↗WEB TOOLDisplays model-chain calculations and can output a full-size SVG, print layout, and copied text values.
OPEN TOOL ↗If the goal were only to build one chain, repeated manual adjustment in CAD could eventually work. Organizing the required values during the process made the rebuild faster and also led to a dedicated tool that can solve the same problem again.