Correct the body.
Rebuild the fuel filler and openings, thin heavy edges, and correct door gaps and major sink marks.
 UPDATED 2026.10.24
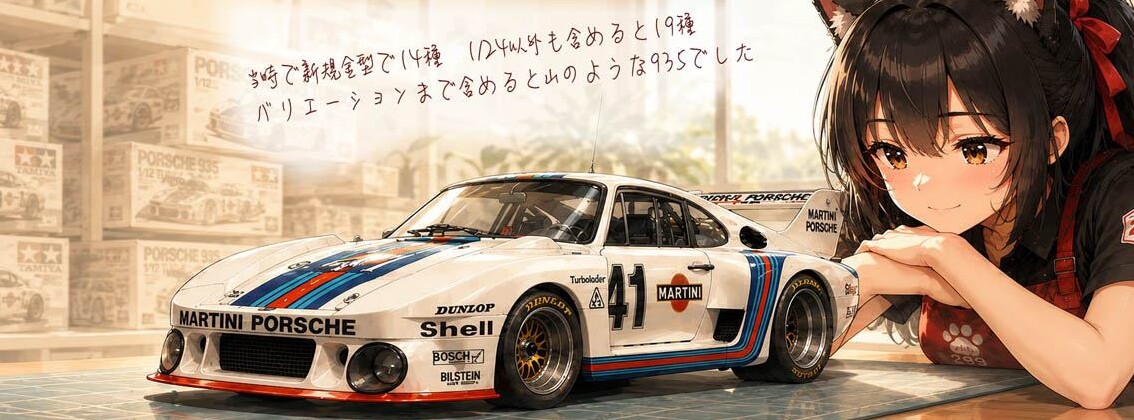
I built and ran a Marui 935-77 once as a junior-high-school student — and eventually destroyed it. This is the record of taking the more-than-40-year-old motorized kit through body corrections, 3D-printed parts, custom details, and decal repair to finish it as car No. 41 for display.
01 / WHY THIS KIT
I did not choose it because it was old.I chose it because I loved this shape.So this time,I would finish it with the methods I have now.
The body pulls inward at the sides and tapers tightly toward the rear. Among the many 1/24 Porsche 935-77 kits, I had always rated the Marui proportions highly.
Motorized running, opening doors, and grain-of-wheat bulb lights — it has the kind of features that made car kits exciting when I was a kid.
I built one in junior high school, ran it, and eventually destroyed it. This build became a second chance to finish the kit in a way I could not back then.
02 / REBUILD
Rebuild the fuel filler and openings, thin heavy edges, and correct door gaps and major sink marks.
The deteriorated tires and decals were not usable, so they were replaced with other products and custom-made parts.
Wheels, tires, brakes, seat, radiators, and other visible details were made to fill what the original kit omitted.
Italeri decals were cut and combined, with mismatched lettering and stripes corrected. Replacement sheets were obtained from overseas support.
Gauges, mesh, lights, fuel filler details, a kill switch, and other small items were added to move the model closer to the display car.
03 / ARTICLES
Check the condition of the kit, its motorized and opening-door features, and the unusable tires and decals.
Open and refine body details, thin heavy edges, correct sink marks, and improve the door gaps.
Build wheels, tires, and brakes, while adapting the available decals to the No. 41 car.
Add the seat, headrest, tanks, and other interior details while correcting specification differences.
Use replacement decals delivered from overseas and continue the repair and application work.
Finish the interior, radiators, mesh, light covers, kill switch, and remaining details.
A finished gallery of car No. 41 and the Marui 935-77 shape that made the kit worth rebuilding.
04 / REPLACED PARTS

The original tires had deteriorated badly, so new tires were made together with the wheels.
Italeri decals were cut and combined, and missing or incorrectly sized markings were corrected.
Brakes, seat, radiators, and other visible details were added.
The oversized light openings were closed and rebuilt with reflective surfaces and smaller lamps.
The goal was not to turn it into a modern super-detailed kit. I kept the Marui 935-77 proportions I liked, replacing only the failed parts and filling the omissions with methods available today.